Excel Merge & Center – What It is & How to Use It

The following article shows you how to use the Excel Merge & Center tool.
The spreadsheet software of Microsoft Excel is best known for crunching numbers. This remains the primary reason people use Excel. But often times, you need text to accompany those numbers to make sense of what the numbers mean. Whether it’s column headings, naming the worksheet itself, itemization or important notes, adding text to Excel is a vital component of making your Excel spreadsheets be professionally viable.
Sometimes adding text can create formatting issues. Fortunately, Excel provides formatting options to make your spreadsheet accommodate text without compromising the number formatting. One such tool is the Merge & Center tool. This is perfect for text that runs over multiple cells. Without changing the Excel width or height of the individual cells in a column or row, you can merge all the cells together. The text will also automatically expand.
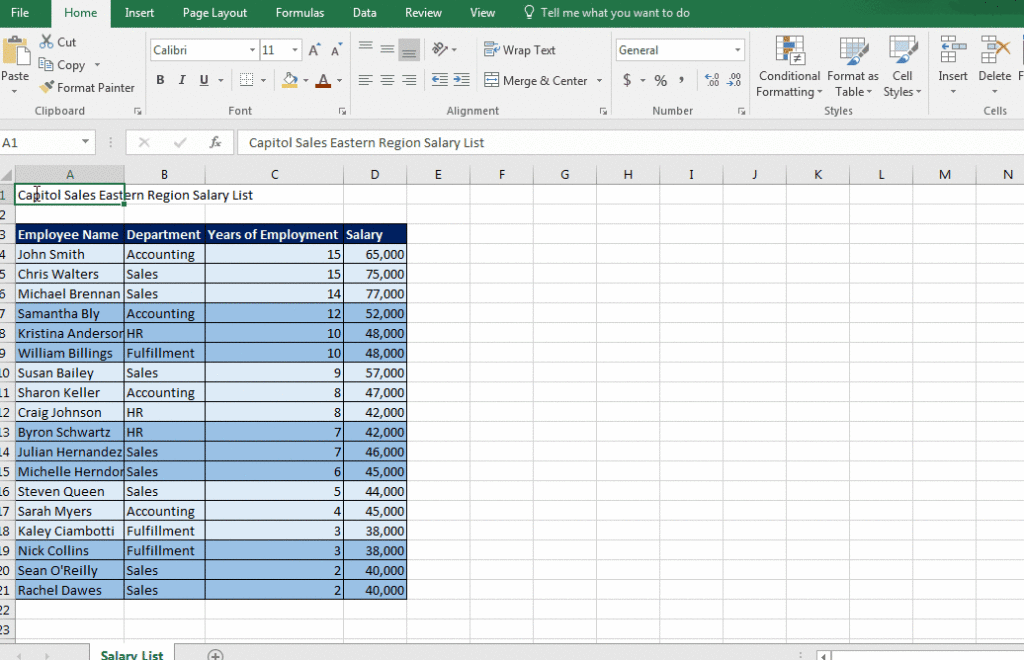
Let’s take the following spreadsheet as an example. The name of the spreadsheet has been added to the spreadsheet:
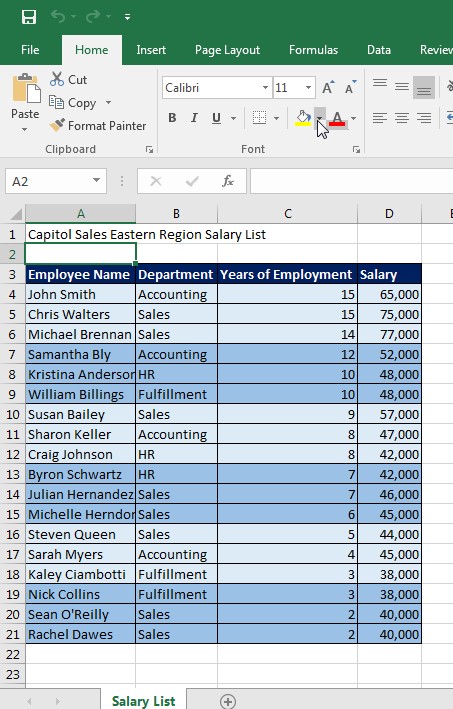
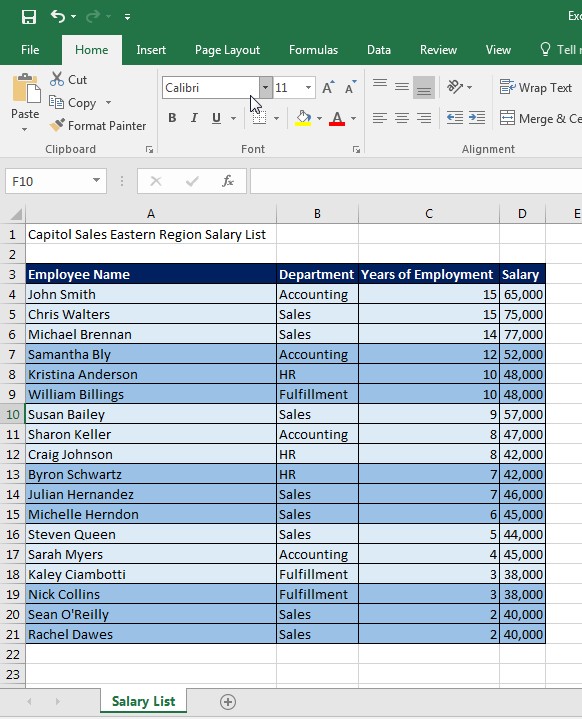
Notice how the text for the name of the spreadsheet runs from A1 to C1. The table, however, is already formatted so that the columns are the right width for the Column Headings. Adjusting column width for the name of the spreadsheet throws everything off:
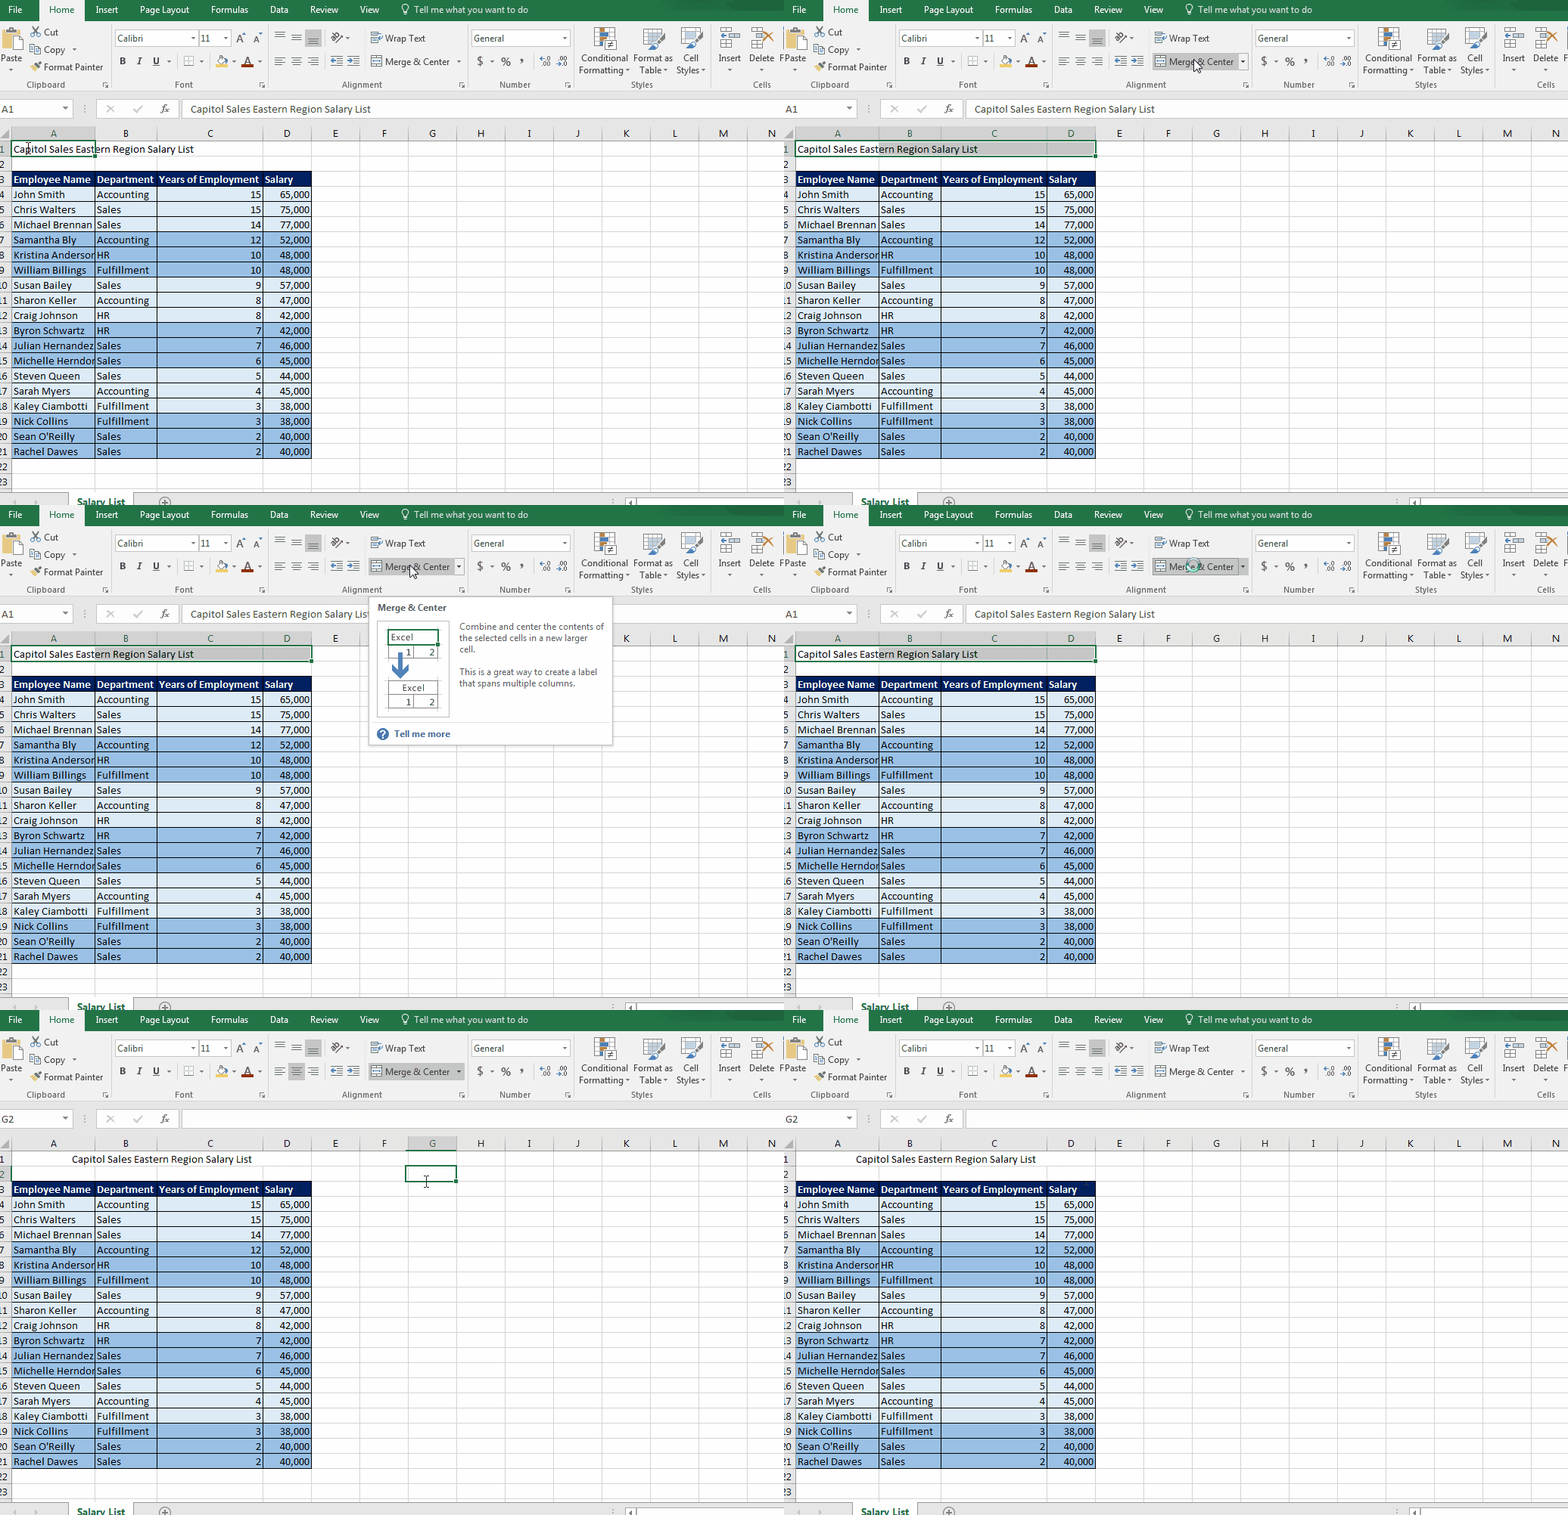
This is where the Excel Merge & Center tool comes into play. The following Gif will show you how to use the tool:
Now, as you can see above, the text for the spreadsheet heading runs the width of the table. But none of the columns or rows containing table data had to adjust. This is now a fixed heading.
From there, you can format the color, text size, etc. to get the heading exactly how you want it.
We here at Learn Excel Now hope you now feel comfortable using the Excel Merge & Center option.
Like Learn Excel Now? Follow us on social media and sign up for the newsletter!
Don’t forget to share our tips with your friends and colleagues!
Kevin, Learn Excel Now.


